MortiSafe - Fit the USB cable
This page is about one of the steps to <a href="/index.php/Build_a_MortiSafe" title="Build a MortiSafe">Build a MortiSafe</a>.
If you can't fit the USB cable through any hole in the safe, cut it and put it through the hole, so that the square connector is in the safe and the flat connector outside. You should cut it about 20 cm from the square connector end.
Strip the wires (there will be 4 cores and some other shielding) and connect each of the wires together, including the shielding, matching the coloured core one side with the same colour the other side. I use a 'terminal block' for this.
<a href="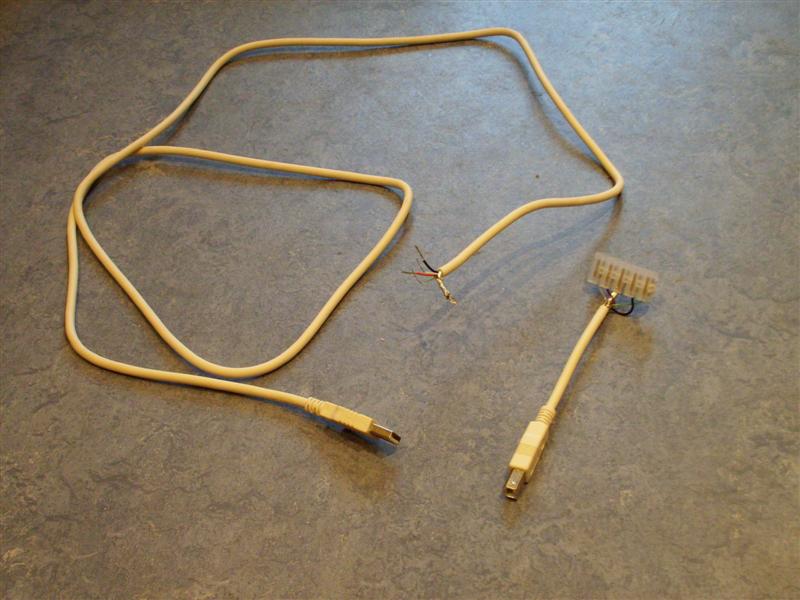 " class="external text" title="
 " rel="nofollow"><img src="
 " alt="USB_cut_small.jpg" /></a>
Notice how the short cable has the square connector on the end, and has the terminal block connected. This is ready to put the long end of the cable through the hole in the safe, then screw the 5 wires to the terminal block.
Then you can put the Arduino and MOSFET board and all the connecting cable inside the safe, and let the USB cable out of the back of the safe into your PC.
<a href="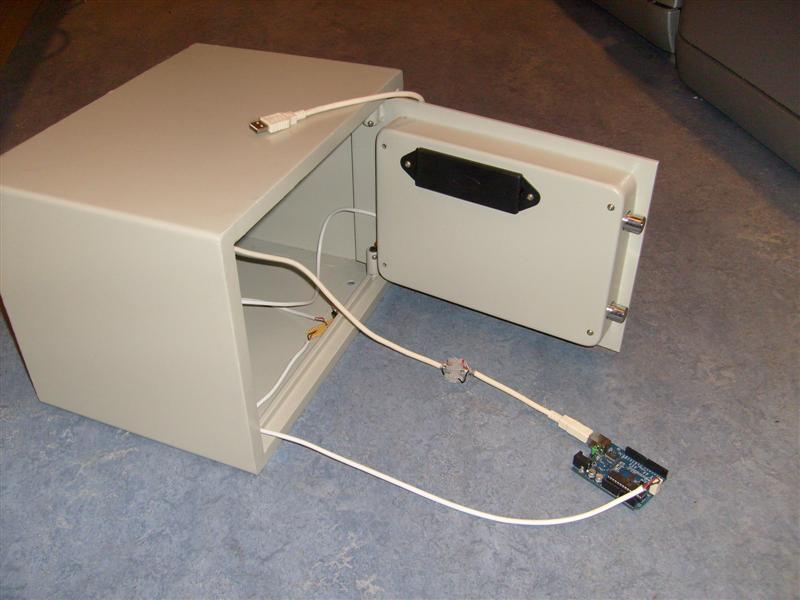 " class="external text" title="
 " rel="nofollow"><img src="
 " alt="usb_connected_small.jpg" /></a>
<a href="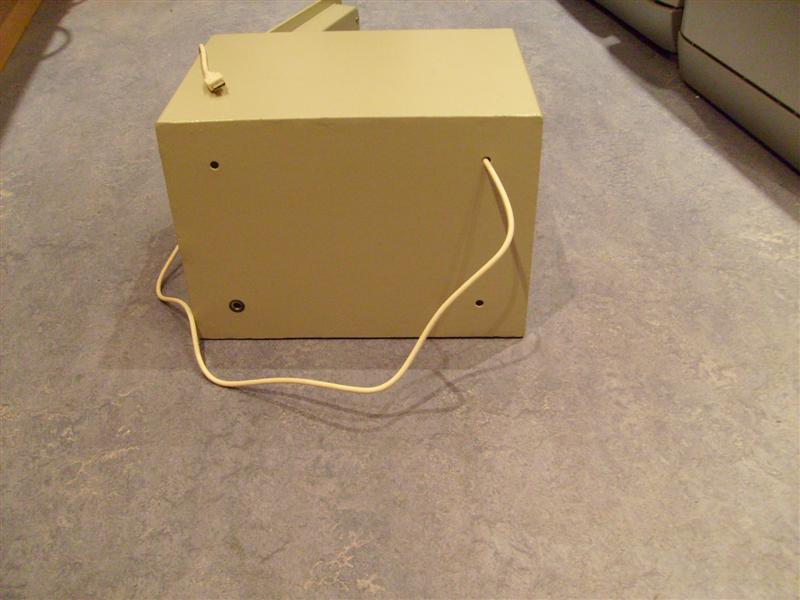 " class="external text" title="
 " rel="nofollow"><img src="
 " alt="safe_back_small.jpg" /></a>
Make sure the safe is working okay (use the 'lock' and 'unlock' buttons you used earlier to test it) and make sure all cables are secure and they aren't going to fall out or get trapped in the door.
Then you can lock the safe and it won't open again while the 'lock' mode is in use.