MortiSafe - Modify the safe
This page is about one of the steps to <a href="/index.php/Build_a_MortiSafe" title="Build a MortiSafe">Build a MortiSafe</a>.
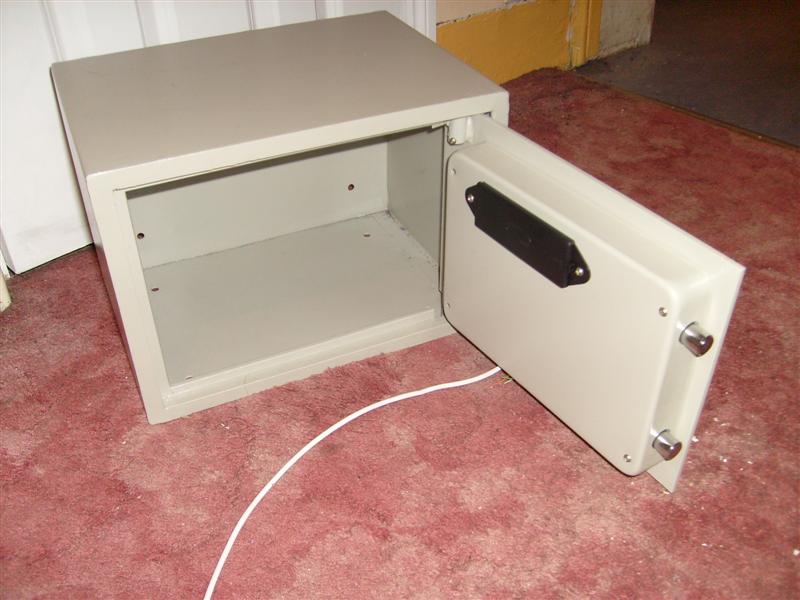
Open the safe.
<a href=" " class="external text" title="
 " rel="nofollow"><img src="
 " alt="Safe_panel_on_small.jpg" /></a>
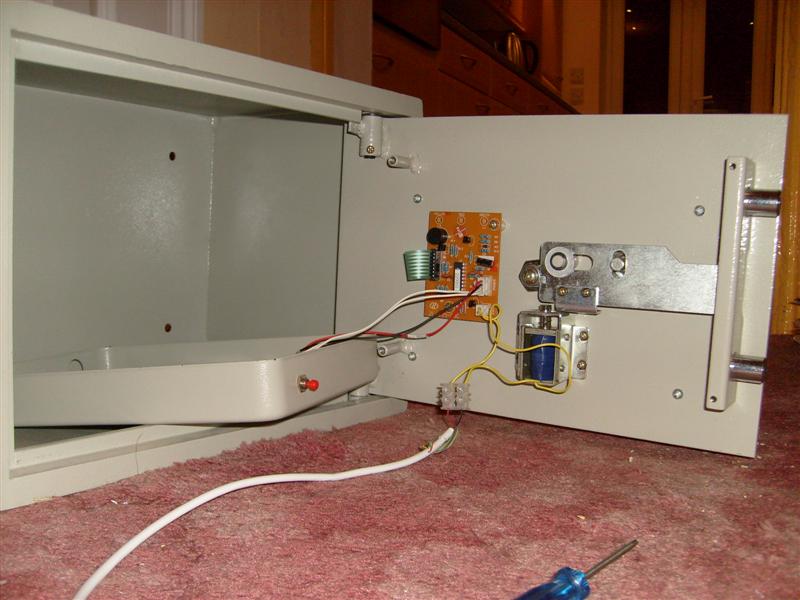
Then unscrew the panel on the back of the door. There you will see a solenoid (big coil of wire with a bar inside). If you lock and unlock the safe it will be the only part that automatically moves.
There should be two wires running from the solenoid to the control board. You need to cut one of those wires. You should find that, with that wire cut, you can try to open the safe but it won't open. Then if you connect those two wires together, the safe will work as normal.
Get some 2 core cable, say 20cm, and connect those two wires to the two cores of the cable. I used a 'terminal block' connector with screw fittings, but you could twist and solder the wires together if you prefer.
<a href=" " class="external text" title="
 " rel="nofollow"><img src="
 " alt="Safe_panel_off_small.jpg" /></a>
On the left of this picture, you can see the back panel of the safe. The panel has a battery compartment in it, which is why there are wires going from the circuit board to the back panel, but that's nothing to do with the MortiSafe modifications. The modification I've made is to cut one of the yellow wires from the big blue coil to the circuit board, and attach both ends of that yellow wire to the connector which connects them to two of the cores of the white cable running off the bottom of the picture.
Later on you might need to swap the two wires over, so don't solder anything yet.